Creamy Homemade Butter

By Erin Wakeman of The Wakeman's
When Jake and I moved back to our small town roots to have our babies, we knew we wanted to raise them close to the earth. With chickens in our backyard, baby ducks ready to join them any day now, we love taking any opportunity to introduce them to farm-to-table foods and ways of living. We have a local dairy farm that we’ve visited for years and every spring we go to meet the new baby calves and every winter we go to see the barn covered in snow.
We love to support our community and love bringing home giant jugs of raw milk. I remember skimming off the cream and shaking it in a mason jar for hours when I was a little girl to turn it into butter and I’ve been dying for a chance to try it out with my 3-year-old! I knew she’d need a faster way to results, so I whipped up a batch in our Blendtec Twister jar and was so impressed with the ease and results! I’m so excited to share our recipe for blender butter with you today.
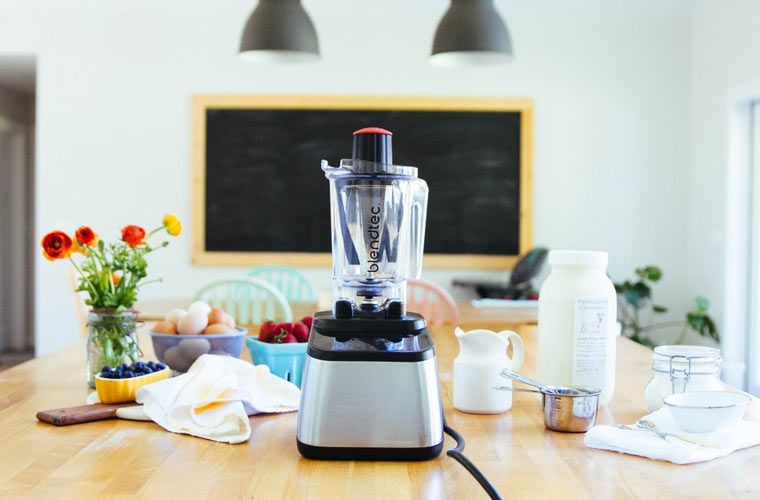
You can make this recipe using heavy cream from the store or skim the cream from the top of raw milk like we did. Yummy and creamy both ways!
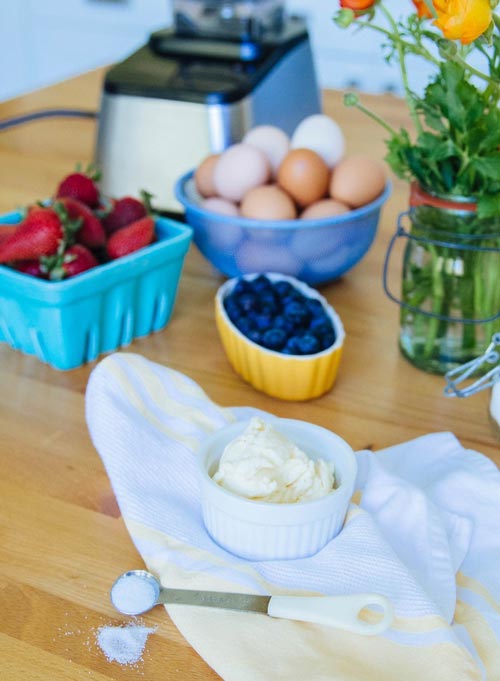
Homemade Butter
Ingredients
2 cups heavy cream
Pinch of salt, to taste
Instructions
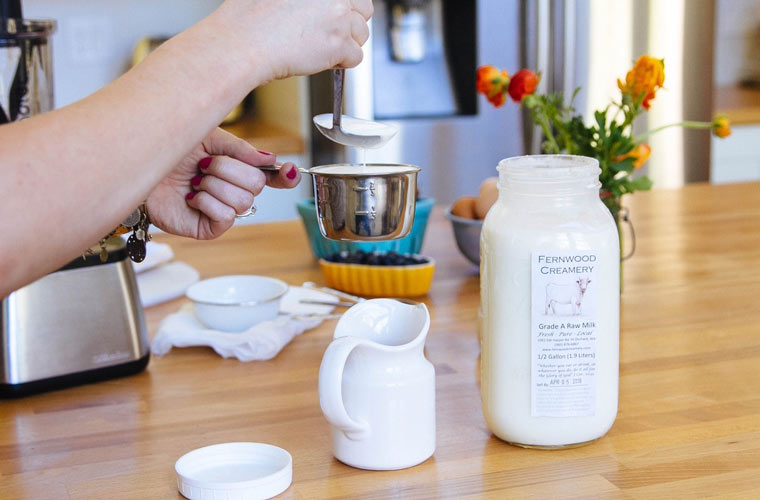
Skim heavy cream off the top of your raw milk (skip this step if using heavy cream from a carton) and pour into Twister jar.
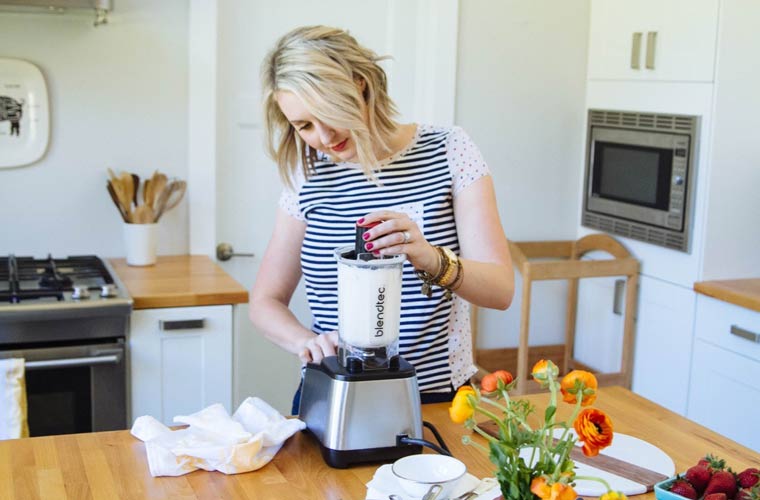
Blend on High for 4-5 minutes, while turning the lid counter-clockwise.
The cream will start to thicken and the buttermilk will stay liquid. Remove the lid and pour the buttermilk into a container to save for another recipe or simply dump down the drain. Add a pinch of salt (to taste), start small and add more if desired. Blend once or twice more and drain. Scoop butter out onto a double layer of cheesecloth or into a mesh strainer over a bowl. Squeeze or press until all liquid is removed, running under cold water to retain freshness.
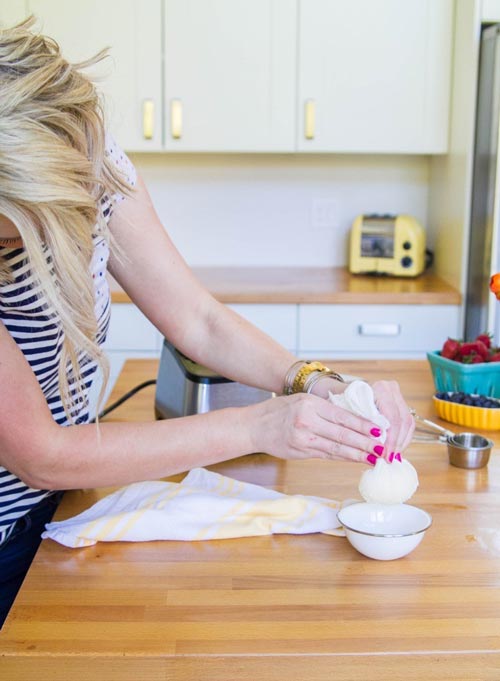
Use your homemade butter on top of these grain-free waffles, toast or in your favorite recipes for added creaminess and flavor!

Makes 1/2 - 3/4 cup butter. Store in refrigerated air tight container for up to 3 weeks.
About the Author
Erin blogs at thewakemans.com about homestead life, raising babies, traveling with a young family and carving out big joys in small moments. Follow along on Instagram and Pinterest for more Wakeman family fun!
Leave a comment